Hey there, tech wizard! If you're reading this, chances are you're diving headfirst into the world of IoT (Internet of Things) and want to know how to control your devices remotely using Windows 10—for free! Let’s face it, the idea of automating your home or office with smart devices is pretty dang cool. But, where do you even begin? Don’t worry, we’ve got you covered. In this guide, we’ll break down everything you need to know about setting up remote IoT on Windows 10 without breaking the bank. So, grab your coffee, and let’s get started!
Now, you might be wondering, “What exactly is remote IoT?” Well, it’s like giving your devices superpowers. Imagine being able to turn off your lights, adjust your thermostat, or even lock your doors from halfway across the world. Sounds futuristic, right? But the best part? You don’t need a Ph.D. in computer science to make it happen. With Windows 10 and a few simple tools, you can set up remote IoT in no time.
Before we dive into the nitty-gritty, let’s talk about why you should care about remote IoT. First off, it’s convenient as heck. No more rushing home to check if you turned off the coffee maker. Plus, it’s cost-effective. Who doesn’t love saving money while making their life easier? So, buckle up, because we’re about to take you on a journey to becoming a remote IoT master.
Read also:Masafun New Your Ultimate Guide To Adventure And Fun
Understanding Remote IoT: What’s the Fuss All About?
Let’s start with the basics. Remote IoT is all about connecting your devices to the internet and controlling them from anywhere in the world. Think of it like giving your devices a brain and a voice. With Windows 10, you can set up a system that lets you monitor and manage your IoT devices without any fancy hardware or expensive software. It’s like having a personal assistant who never sleeps!
Why Windows 10 is the Perfect Platform for Remote IoT
Windows 10 isn’t just your average operating system; it’s a powerhouse when it comes to IoT. With built-in features like PowerShell and the ability to run lightweight servers, it’s the perfect platform for setting up remote IoT. Plus, it’s super user-friendly, which means even if you’re not a tech guru, you can still rock this setup.
Here are a few reasons why Windows 10 is the go-to choice for remote IoT:
- Built-in support for IoT protocols
- Easy-to-use interface
- Compatibility with a wide range of devices
- Free tools and resources
Step-by-Step Guide to Setting Up Remote IoT on Windows 10
Alright, let’s get our hands dirty and dive into the setup process. Don’t worry, it’s not as complicated as it sounds. We’ll break it down into simple steps so you can follow along without any issues.
Step 1: Gather Your Tools and Resources
Before you start, you’ll need a few things:
- A Windows 10 PC
- An IoT device (like a smart bulb or thermostat)
- A stable internet connection
- A text editor or IDE (Integrated Development Environment)
Having these tools ready will make the setup process a breeze. Trust us, you don’t want to be scrambling for stuff halfway through.
Read also:Vivienne Marcheline Joliepitt The Life Legacy And Mystique
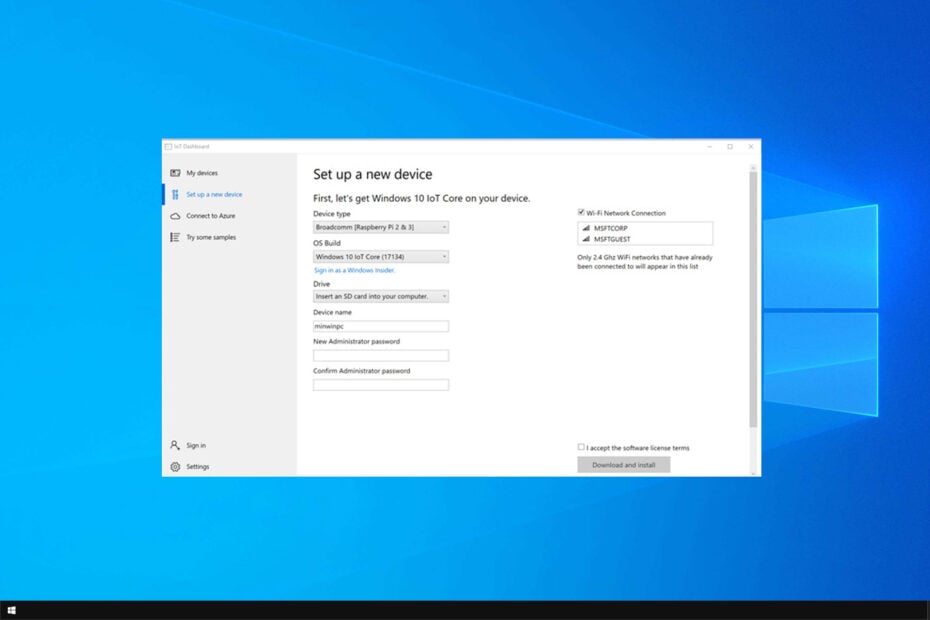
Step 2: Set Up Your IoT Device
The first step is to get your IoT device up and running. This usually involves connecting it to your Wi-Fi network and installing any necessary apps. Most devices come with step-by-step instructions, so follow those closely. Once your device is online, you’re ready to move on to the next step.
Step 3: Install and Configure PowerShell
PowerShell is your best friend when it comes to remote IoT. It’s a powerful scripting tool that lets you automate tasks and control your devices with ease. To install and configure PowerShell, follow these steps:
- Open the Windows Start menu and search for “PowerShell”
- Right-click on PowerShell and select “Run as administrator”
- Use the following command to enable remote management:
Enable-PSRemoting -Force
And just like that, you’ve got PowerShell ready to rock!
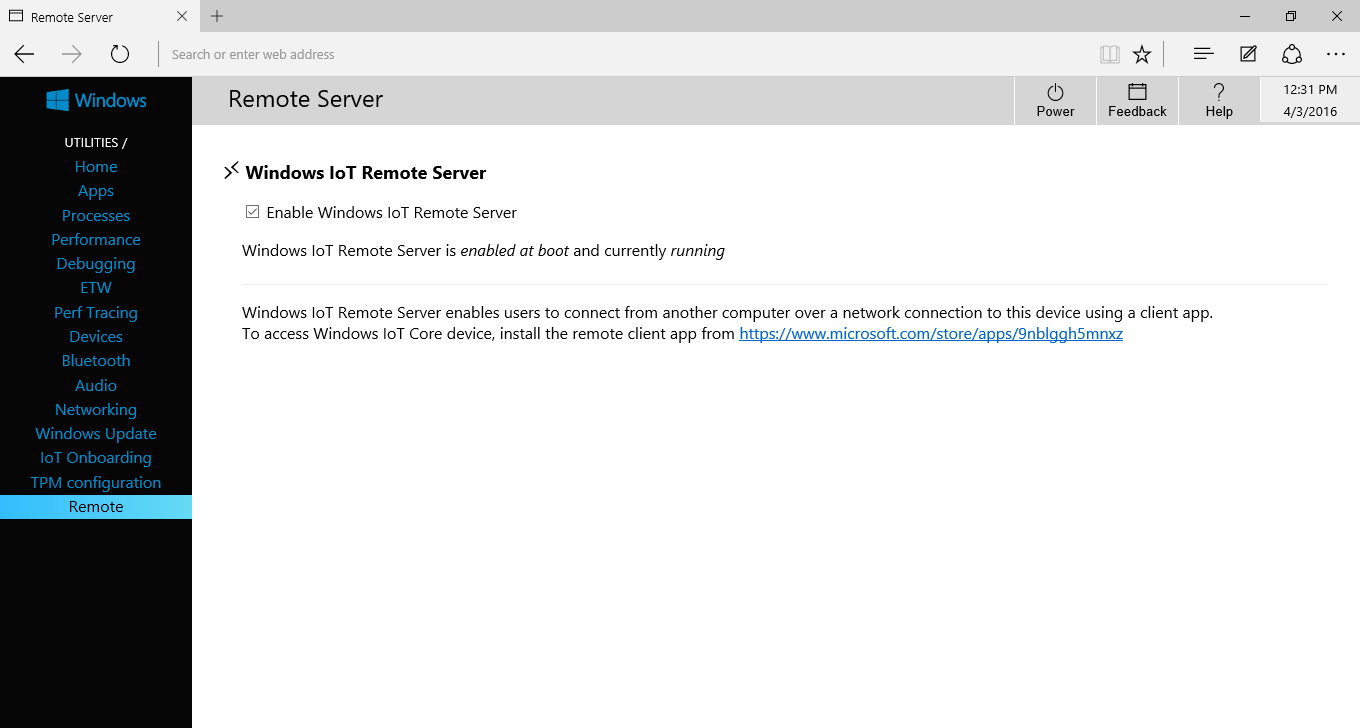
Connecting Your IoT Device to the Internet
Now that your device is set up and PowerShell is ready, it’s time to connect your IoT device to the internet. This is where the magic happens. By connecting your device to the internet, you can control it from anywhere in the world. Here’s how you do it:
Step 1: Create an API
An API (Application Programming Interface) is like a bridge that connects your device to the internet. You can create an API using platforms like Azure IoT Hub or AWS IoT Core. These platforms offer free tiers, so you don’t have to worry about spending a fortune.
Step 2: Set Up a Web Server
Next, you’ll need to set up a web server to host your API. You can use tools like Node.js or Python Flask to create a lightweight server. Don’t worry if you’ve never done this before; there are tons of tutorials online that can walk you through the process.
Testing Your Remote IoT Setup
Once everything is set up, it’s time to test your remote IoT system. This is the fun part! Fire up your favorite browser and try controlling your IoT device from a different location. If everything is working as it should, congratulations—you’ve just created a remote IoT system on Windows 10 for free!
Tips for Troubleshooting
Sometimes, things don’t go as planned. If you’re having trouble with your setup, here are a few tips to help you troubleshoot:
- Check your internet connection
- Make sure your device is properly configured
- Verify that your API is working correctly
- Restart your server if necessary
Remember, patience is key. Don’t get discouraged if things don’t work right away. With a little persistence, you’ll get it up and running in no time.
Enhancing Your Remote IoT System
Now that you’ve got the basics down, it’s time to take your remote IoT system to the next level. Here are a few ideas to enhance your setup:
Add More Devices
Why stop at one device? With Windows 10, you can connect multiple IoT devices to your system. This opens up a whole new world of possibilities. Imagine controlling your entire home with a single interface. Pretty cool, right?
Automate Tasks
Automation is where remote IoT really shines. You can set up scripts that automatically turn off lights when you leave the house or adjust your thermostat based on the weather. The possibilities are endless!
Security Best Practices for Remote IoT
Security is a big deal when it comes to remote IoT. After all, you don’t want random people controlling your devices. Here are a few best practices to keep your system secure:
- Use strong passwords
- Enable two-factor authentication
- Keep your software up to date
- Monitor your system for suspicious activity
By following these tips, you can ensure that your remote IoT system is as secure as possible.
Conclusion: Your Journey to Becoming a Remote IoT Expert
And there you have it—a complete guide to setting up remote IoT on Windows 10 for free. We hope this article has given you the confidence and knowledge to take on the world of IoT. Remember, the key to success is practice and perseverance. So, don’t be afraid to experiment and try new things.
Now, it’s your turn to take action. Whether it’s setting up a new device or automating a task, the possibilities are endless. And don’t forget to share your experience with us in the comments below. We’d love to hear about your remote IoT adventures!
Thanks for reading, and happy tinkering!
Table of Contents
- Understanding Remote IoT: What’s the Fuss All About?
- Step-by-Step Guide to Setting Up Remote IoT on Windows 10
- Connecting Your IoT Device to the Internet
- Testing Your Remote IoT Setup
- Enhancing Your Remote IoT System
- Security Best Practices for Remote IoT