Imagine this: you're sitting in your cozy living room, sipping coffee, and you need to access a device located miles away. Sounds impossible? Not anymore! Remote SSH login for IoT on Ubuntu is your golden ticket to seamless device management. Whether you're a tech enthusiast or a seasoned developer, understanding this concept will revolutionize the way you interact with IoT devices.
Nowadays, the Internet of Things (IoT) has taken the world by storm. From smart homes to industrial automation, IoT devices are everywhere. But here's the catch: managing these devices remotely can be a real headache if you don't know the tricks of the trade. That's where SSH comes into play. Secure Shell (SSH) is like a superhero for remote connections, offering secure access to your devices from anywhere in the world.
Before we dive deep into the nitty-gritty, let's address the elephant in the room. Why should you care about remote SSH login for IoT on Ubuntu? Well, my friend, it's all about efficiency, security, and convenience. With SSH, you can troubleshoot issues, deploy updates, and monitor your devices without lifting a finger. So, buckle up because we're about to embark on a journey that will transform the way you work with IoT devices.
Read also:Natalie Morales Actress Accident The Untold Story Behind The Scenes
Understanding the Basics of Remote SSH
Alright, let's break it down. Remote SSH is like a secret tunnel that connects you to your IoT device securely. Think of it as a private hotline that lets you send commands, transfer files, and manage your device from afar. The beauty of SSH lies in its encryption, ensuring that your data remains safe from prying eyes.
Here’s a quick rundown of why SSH is the go-to method for remote access:
- **Encryption**: All data transmitted through SSH is encrypted, keeping it secure.
- **Authentication**: SSH uses keys or passwords to verify your identity before granting access.
- **Versatility**: You can perform a wide range of tasks, from running scripts to managing configurations.
Now, when it comes to IoT devices running on Ubuntu, SSH becomes even more powerful. Ubuntu, with its robust Linux foundation, is perfectly suited for IoT applications. Combining SSH with Ubuntu gives you a rock-solid platform for remote management.
Why Use Ubuntu for IoT Devices?
Ubuntu isn't just another Linux distribution; it's a powerhouse for IoT applications. Here's why it's the perfect match for your IoT projects:
- **Stability**: Ubuntu is known for its rock-solid stability, ensuring your IoT devices run smoothly without hiccups.
- **Security**: With regular updates and a strong focus on security, Ubuntu keeps your devices protected from vulnerabilities.
- **Community Support**: The vast Ubuntu community means you'll never run out of resources or help when troubleshooting issues.
Whether you're setting up a smart thermostat or managing a fleet of industrial sensors, Ubuntu provides the flexibility and reliability you need. And when paired with SSH, the possibilities are endless.
Setting Up SSH on Your IoT Device
Ready to roll up your sleeves? Let's walk through the steps to set up SSH on your IoT device running Ubuntu. It's easier than you think!
Read also:Valerie C Robinson Today The Inspiring Journey Of A Remarkable Woman
Step 1: Enable SSH Service
The first thing you need to do is enable the SSH service on your Ubuntu-based IoT device. Here's how:
Open the terminal and type the following command:
sudo systemctl start ssh
This command starts the SSH service. To ensure it runs every time your device boots, use:
sudo systemctl enable ssh
Step 2: Install SSH Server
If SSH isn't already installed on your device, you can quickly set it up. Just run:
sudo apt update
sudo apt install openssh-server
That's it! Your device is now ready to accept SSH connections.
Connecting to Your IoT Device via SSH
Now that your IoT device is all set up, it's time to connect to it remotely. Here's how you can do it:
Step 1: Get the IP Address
Before you can connect, you need to know your IoT device's IP address. You can find it by running:
hostname -I
This command displays the IP address of your device. Jot it down; you'll need it for the next step.
Step 2: Establish the SSH Connection
Open a terminal on your local machine and type:
ssh username@IP_address
Replace "username" with your device's username and "IP_address" with the IP address you noted earlier. Hit enter, and you'll be prompted to enter your password. Once authenticated, you're in!
Tips for Secure Remote SSH Login
Security should always be a top priority when dealing with remote access. Here are some tips to keep your SSH connections secure:
- **Use SSH Keys**: Instead of relying on passwords, set up SSH keys for authentication. It's more secure and convenient.
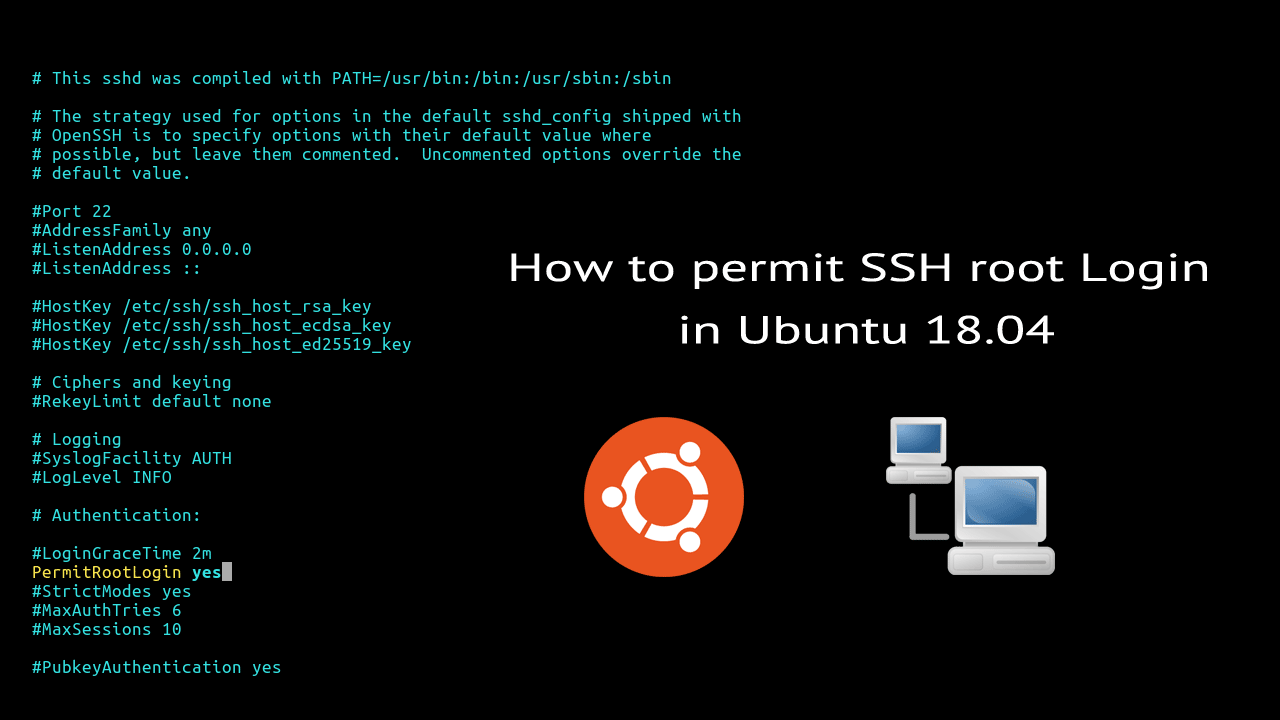
- **Disable Root Login**: Restrict root access to prevent unauthorized users from gaining administrative privileges.
- **Change Default Port**: The default SSH port is 22. Changing it to a non-standard port adds an extra layer of security.
By following these best practices, you'll significantly reduce the risk of unauthorized access to your IoT devices.
Common Issues and Troubleshooting
Even with the best preparation, things can sometimes go wrong. Here are some common issues you might encounter and how to fix them:
Issue 1: Connection Refused
If you're getting a "Connection refused" error, it usually means the SSH service isn't running. Double-check that SSH is enabled and started on your device.
Issue 2: Permission Denied
This error often occurs when there's a problem with authentication. Ensure you're using the correct username and password or check your SSH key configuration.
By addressing these issues promptly, you'll keep your remote SSH connections running smoothly.
Advanced SSH Features for IoT
Once you've mastered the basics, it's time to explore some advanced SSH features that can take your IoT projects to the next level:
Feature 1: Port Forwarding
Port forwarding allows you to securely access services on your IoT device from your local machine. For example, you can access a web server running on your device without exposing it to the internet.
Feature 2: Automated Script Execution
SSH can be used to automate tasks on your IoT devices. Write a script to perform routine maintenance or gather data, and use SSH to execute it remotely.
These features make SSH an indispensable tool for managing IoT devices efficiently.
Real-World Applications of Remote SSH for IoT
Let's talk about how remote SSH is being used in the real world to solve practical problems:
- **Smart Home Automation**: Control your smart home devices from anywhere using SSH.
- **Industrial Monitoring**: Monitor and manage industrial sensors and equipment remotely.
- **Data Collection**: Gather data from remote sensors and store it for analysis without needing physical access.
These applications highlight the versatility and power of remote SSH for IoT, making it an essential tool for modern technology.
Conclusion: Take Control of Your IoT Devices Today
We've covered a lot of ground, from understanding the basics of remote SSH to exploring advanced features and real-world applications. By now, you should have a solid grasp of how to use SSH for managing IoT devices on Ubuntu.
So, what's next? Take action! Start by setting up SSH on your IoT devices and experimenting with remote connections. Share your experiences in the comments below, and don't forget to check out our other articles for more tips and tricks. Remember, the world of IoT is at your fingertips, and SSH is the key to unlocking its potential. Happy tinkering!
Table of Contents
- Understanding the Basics of Remote SSH
- Why Use Ubuntu for IoT Devices?
- Setting Up SSH on Your IoT Device
- Connecting to Your IoT Device via SSH
- Tips for Secure Remote SSH Login
- Common Issues and Troubleshooting
- Advanced SSH Features for IoT
- Real-World Applications of Remote SSH for IoT
- Conclusion: Take Control of Your IoT Devices Today