Hey there, tech enthusiasts! Are you ready to dive into the world of remote IoT platforms and Raspberry Pi? Let's get straight to the point: remote IoT platform SSH key Raspberry Pi free options are revolutionizing the way we interact with technology. Whether you're a hobbyist tinkering with home automation or a professional building scalable IoT solutions, this setup opens doors to endless possibilities. So, buckle up because we're about to explore everything you need to know to get started!
Imagine controlling your devices from anywhere in the world, all with the power of a tiny computer like the Raspberry Pi. It's not just about convenience; it's about creating smart, efficient systems that can transform how we live and work. With free SSH key setups, you can secure your connections without breaking the bank. But before we jump into the nitty-gritty, let’s talk about why this matters to you. If you're reading this, chances are you're either curious about IoT or already knee-deep in it, looking for ways to optimize your setup.
By the end of this article, you'll have a solid understanding of remote IoT platforms, SSH keys, Raspberry Pi configurations, and how to make the most of free tools available. Ready to level up your tech game? Let's go!
Read also:Masafun New Your Ultimate Guide To Adventure And Fun
Table of Contents
- What is IoT and Why Does It Matter?
- Raspberry Pi Basics: The Heart of Your IoT Setup
- Understanding SSH Keys: Why They're Essential
- Remote Access Made Simple with SSH
- Free IoT Platforms You Should Know
- Step-by-Step Guide to Setting Up SSH on Raspberry Pi
- Top Security Tips for Your IoT Setup
- Common Issues and How to Fix Them
- Real-World Applications of IoT with Raspberry Pi
- Wrapping It Up: Your Next Steps
What is IoT and Why Does It Matter?
Alright, let's start with the basics. IoT, or the Internet of Things, is all about connecting devices to the internet and each other. Think about smart homes, wearable tech, and even industrial automation. These systems rely on IoT to function seamlessly. But why should you care? Well, IoT isn't just a buzzword; it's a game-changer. It allows for automation, data collection, and real-time monitoring, making our lives easier and more efficient.
How IoT Impacts Daily Life
Let me break it down for you. With IoT, you can control your lights, thermostat, and security system from your phone. In industries, IoT helps monitor machinery, optimize supply chains, and reduce downtime. The possibilities are endless, and the best part? You don't need a million-dollar budget to get started. Tools like Raspberry Pi and free IoT platforms make it accessible for everyone.
Raspberry Pi Basics: The Heart of Your IoT Setup
Now, let's talk about the star of the show: the Raspberry Pi. This little device is a powerhouse for IoT projects. It's affordable, versatile, and easy to use. Whether you're building a weather station, home automation system, or even a robot, the Raspberry Pi can handle it. But what makes it so special?
Why Raspberry Pi is Perfect for IoT
First off, it's compact and energy-efficient. Plus, it has a massive community of developers who share tutorials, projects, and tips. And did I mention it's cheap? You can get a Raspberry Pi for under $50, which is a steal compared to other hardware options. With its GPIO pins and support for various programming languages, it's a dream come true for IoT enthusiasts.
Understanding SSH Keys: Why They're Essential
Here's where things get interesting. When you're working with remote IoT platforms, security is paramount. That's where SSH keys come in. SSH, or Secure Shell, allows you to connect to your Raspberry Pi securely from anywhere. But why use keys instead of passwords? Simple: they're more secure and convenient.
Benefits of Using SSH Keys
- Enhanced Security: SSH keys are harder to crack than passwords.
- Convenience: No need to remember complex passwords.
- Automation: Perfect for scripts and automated tasks.
By setting up SSH keys, you're adding an extra layer of protection to your IoT setup. Trust me, it's worth the effort.
Read also:Vanessa Kirby Husband A Closer Look At Her Love Story
Remote Access Made Simple with SSH
Let's face it; remote access is a must-have for any IoT project. Whether you're troubleshooting a device or updating software, being able to do it remotely saves time and hassle. With SSH, you can connect to your Raspberry Pi from anywhere, as long as you have an internet connection.
How SSH Works
SSH creates a secure tunnel between your computer and the Raspberry Pi. It encrypts all data transmitted, ensuring no one can intercept your information. This is crucial when dealing with sensitive data or controlling devices in remote locations. Plus, with SSH keys, you can automate the login process, making it even more convenient.
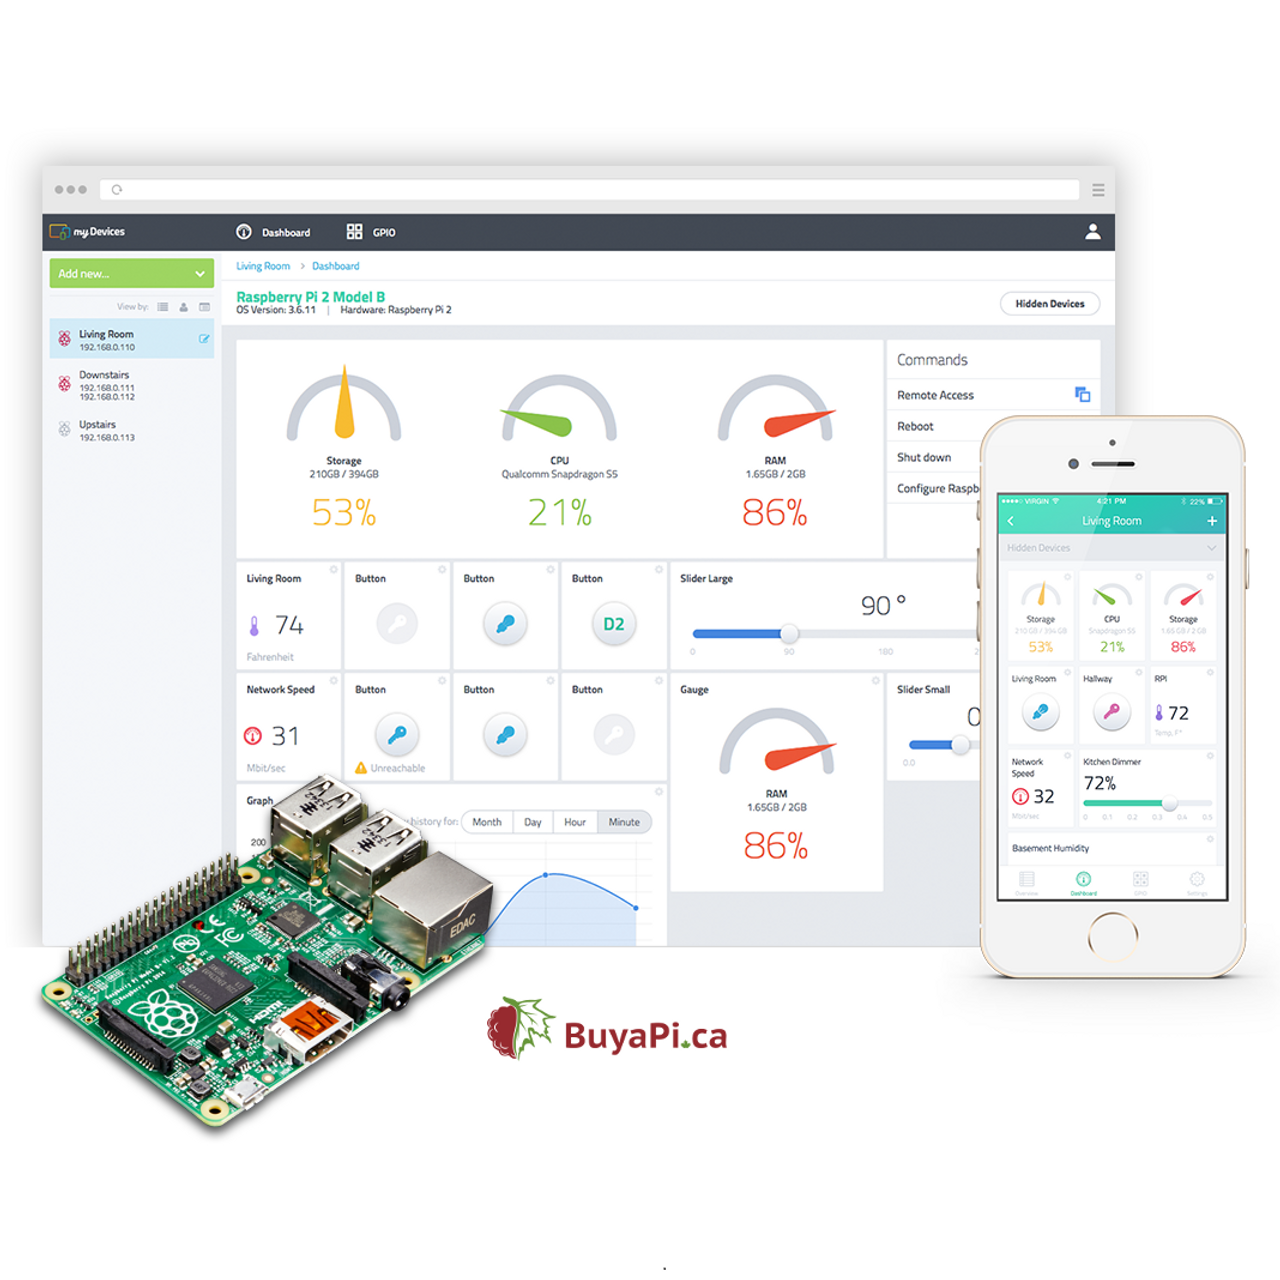
Free IoT Platforms You Should Know
Now, let's talk about the free IoT platforms that can enhance your Raspberry Pi projects. There are several options out there, each with its own strengths. Here are a few you should check out:
Popular Free IoT Platforms
- Adafruit IO: Great for beginners with easy-to-use dashboards.
- ThingsBoard: Powerful and scalable for larger projects.
- Freeboard: Simple and customizable for quick setups.
These platforms offer features like data visualization, device management, and rule engines, all for free. They're perfect for hobbyists and professionals alike.
Step-by-Step Guide to Setting Up SSH on Raspberry Pi
Ready to set up SSH on your Raspberry Pi? Follow these simple steps:
Step 1: Enable SSH on Raspberry Pi
First, make sure SSH is enabled on your Raspberry Pi. You can do this through the Raspberry Pi Configuration tool or by adding an empty file named "ssh" to the boot partition.
Step 2: Generate SSH Keys
Next, generate your SSH keys on your computer. Use the `ssh-keygen` command to create a key pair. This will give you a public and private key.
Step 3: Copy Public Key to Raspberry Pi
Now, copy your public key to the Raspberry Pi using the `ssh-copy-id` command. This will allow you to log in without a password.
Step 4: Test Your Connection
Finally, test your connection by logging in to your Raspberry Pi using SSH. You should be able to do this without entering a password.
And that's it! You're now ready to control your Raspberry Pi remotely with SSH.
Top Security Tips for Your IoT Setup
Security should always be a top priority when working with IoT. Here are some tips to keep your setup safe:
- Use Strong Passwords: Even if you're using SSH keys, strong passwords are still important.
- Keep Software Updated: Regular updates patch security vulnerabilities.
- Limit Access: Restrict who can access your devices and data.
- Monitor Activity: Keep an eye on your devices for any suspicious activity.
By following these tips, you'll ensure your IoT setup is as secure as possible.
Common Issues and How to Fix Them
Let's be real; things don't always go as planned. Here are some common issues you might encounter and how to fix them:
Issue 1: Unable to Connect via SSH
Check if SSH is enabled on your Raspberry Pi and ensure your firewall allows SSH traffic. Also, verify that your IP address is correct.
Issue 2: Slow Performance
Optimize your Raspberry Pi by disabling unnecessary services and ensuring your SD card is not full.
Issue 3: Security Breaches
Regularly update your software and monitor your devices for any unauthorized access.
With these troubleshooting tips, you'll be able to handle most issues that come your way.
Real-World Applications of IoT with Raspberry Pi
Finally, let's explore some real-world applications of IoT with Raspberry Pi:
- Smart Home Automation: Control lights, thermostats, and security systems.
- Environmental Monitoring: Track temperature, humidity, and air quality.
- Industrial Automation: Monitor and control machinery in factories.
These applications showcase the versatility and power of IoT with Raspberry Pi. The only limit is your imagination.
Wrapping It Up: Your Next Steps
There you have it, folks! A comprehensive guide to remote IoT platforms, SSH keys, and Raspberry Pi free solutions. By now, you should have a solid understanding of how to set up and secure your IoT projects. Remember, the key to success is experimentation and learning from your experiences.
So, what's next? Start tinkering with your Raspberry Pi, explore different IoT platforms, and don't forget to share your projects with the community. And if you found this article helpful, drop a comment or share it with your fellow tech enthusiasts. Until next time, keep building and stay curious!