So, you're thinking about installing wall sconces, huh? Let me tell you, this is one of the best decisions you'll ever make for your home. Whether you're looking to upgrade your living room, bedroom, or even your hallway, wall sconces are that perfect blend of style and functionality. They’re not just lighting fixtures; they’re statement pieces that can transform the entire vibe of a space. But hold up—before you grab your screwdriver and jump into it, there’s more to this process than meets the eye. Let’s dive in and break it down step by step.
Now, I know what you're thinking: "Isn't this something I should leave to the professionals?" Sure, if you're not confident in your DIY skills, calling in an expert might be the way to go. But guess what? Installing wall sconces is actually a lot simpler than it seems. With the right tools, a bit of patience, and this ultimate guide, you’ll be able to pull it off like a pro. And hey, you’ll save yourself some cash in the process!
Here’s the deal: wall sconces aren’t just about adding light to your walls. They’re about creating ambiance, defining spaces, and making your home look like it belongs on the cover of a design magazine. So, whether you're a first-timer or someone who’s looking to refresh their lighting game, this guide will walk you through everything you need to know about installing wall sconces. Let's get started!
Read also:Who Is Jon Cor Married To Discovering The Life And Love Of Jon Cor
Why Installing Wall Sconces is a Game-Changer
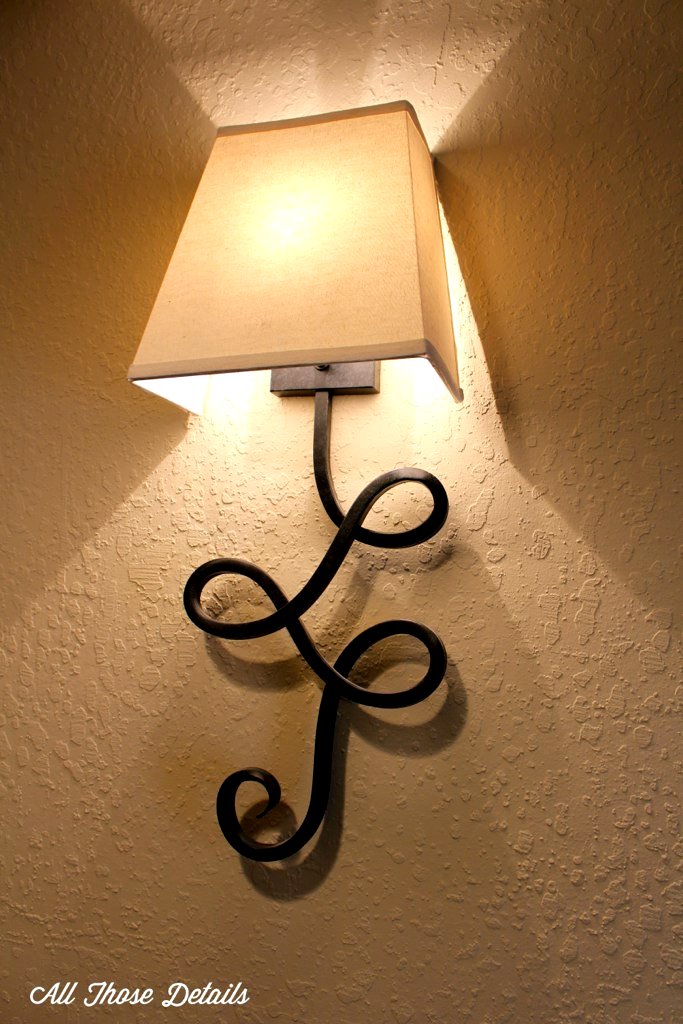
Before we jump into the nitty-gritty of how to install wall sconces, let’s talk about why they’re such a big deal. Wall sconces are more than just lighting fixtures—they’re works of art that can completely transform the look and feel of your space. They provide soft, warm lighting that’s perfect for setting the mood, whether you’re hosting a dinner party or just relaxing with a good book. Plus, they’re super versatile, meaning you can find styles that match any decor, from modern and minimalist to classic and ornate.
Another reason wall sconces are awesome? They’re energy-efficient. Many modern sconces come with LED bulbs, which not only save you money on your electricity bill but also last way longer than traditional bulbs. So, you’re not just upgrading your home’s aesthetics; you’re also making a smart investment for the future.
Understanding the Types of Wall Sconces
Not all wall sconces are created equal. Before you start installing, it’s important to understand the different types available so you can choose the best one for your space. Here’s a quick rundown:
- Traditional Sconces: Think classic, elegant designs that add a touch of sophistication to any room. Perfect for formal spaces like dining rooms or entryways.
- Modern Sconces: Sleek, minimalist designs that work well in contemporary settings. These are great for living rooms or bedrooms.
- Vintage Sconces: If you’re into retro vibes, these are for you. They often feature intricate details and can add character to any space.
- Industrial Sconces: Rustic, rugged designs that are perfect for industrial or farmhouse-style homes. They usually have exposed bulbs and metal finishes.
Choosing the right type of sconce depends on your personal style and the specific needs of your space. Take your time to browse through different options and find one that speaks to you.
Gathering the Right Tools for the Job
Alright, let’s talk tools. Installing wall sconces isn’t rocket science, but having the right tools will make the process a lot smoother. Here’s what you’ll need:
- Screwdriver: You’ll need both a flathead and a Phillips head screwdriver for different types of screws.
- Drill: A power drill will make quick work of mounting the sconces to the wall.
- Wire Strippers: Essential for stripping the wires before connecting them to your sconce.
- Wire Nuts: These are used to securely connect the wires together.
- Voltage Tester: Safety first! Use this to ensure the power is off before you start working.
Having all these tools on hand will ensure you’re fully prepared for the installation process. Trust me, the last thing you want is to be halfway through and realize you’re missing something crucial.
Read also:Duncan Tellef Butler Iii The Dallas Trailblazer You Need To Know
Ensuring Safety During Installation
Safety should always be your top priority when working with electricity. Here are a few tips to keep you safe while installing wall sconces:
- Turn off the power at the breaker box before you start. This is non-negotiable.
- Use a voltage tester to double-check that the power is indeed off.
- Wear rubber-soled shoes and avoid working in wet conditions.
By following these simple safety tips, you’ll be able to complete the installation without any hiccups.
Step-by-Step Guide to Installing Wall Sconces
Now that you’ve got your tools and safety gear ready, let’s get down to business. Here’s a step-by-step guide to installing wall sconces:
Step 1: Choose the Right Location
Deciding where to place your sconces is crucial. You want them to be at eye level, typically around 58-60 inches from the floor. This ensures they provide adequate lighting without being too high or too low. Also, consider the symmetry of your space—installing sconces evenly on both sides of a mirror or piece of furniture can create a balanced look.
Step 2: Turn Off the Power
Never skip this step! Head to your breaker box and turn off the power to the circuit you’ll be working on. Then, use your voltage tester to confirm that the power is off.
Step 3: Remove the Old Fixture (if applicable)
If you’re replacing an existing fixture, carefully unscrew it and disconnect the wires. Make sure to take note of how the wires are connected so you can replicate the setup with your new sconce.
Step 4: Mount the Sconce
Attach the mounting bracket to the wall using the screws provided. If you’re drilling into drywall, use wall anchors for extra support. Once the bracket is securely in place, attach the sconce to it.
Step 5: Connect the Wires
This is where things get a little technical. Connect the black wire from the sconce to the black wire from the wall, and the white wire to the white wire. Secure each connection with a wire nut. Finally, connect the ground wire (usually green or bare copper) to the grounding screw on the mounting bracket.
Step 6: Test the Sconce
Once everything is connected, turn the power back on and test your sconce. If it lights up, congrats—you’ve successfully installed your wall sconce!
Tips for Styling Your Wall Sconces
Now that your sconces are installed, it’s time to think about how to style them. Here are a few tips to help you make the most of your new lighting fixtures:
- Layer Your Lighting: Combine wall sconces with other lighting sources, like table lamps or ceiling fixtures, to create a layered lighting effect.
- Use Dimmers: Installing dimmer switches allows you to adjust the brightness of your sconces, giving you more control over the ambiance.
- Play with Accessories: Add decorative elements like candles or plants around your sconces to enhance their visual impact.
By styling your sconces thoughtfully, you can create a space that’s both functional and beautiful.
Common Mistakes to Avoid
Even the best-laid plans can go awry if you’re not careful. Here are a few common mistakes to avoid when installing wall sconces:
- Forgetting to turn off the power before starting.
- Not measuring the height and spacing of your sconces properly.
- Skipping the use of wall anchors in drywall.
Avoiding these pitfalls will ensure a smooth and successful installation.
Maintaining Your Wall Sconces
Once your sconces are installed, it’s important to maintain them to keep them looking their best. Here’s how:
- Clean Regularly: Dust and wipe down your sconces every few months to prevent buildup.
- Check Bulbs: Replace bulbs as needed to ensure consistent lighting.
- Inspect Wiring: Periodically check the wiring for any signs of damage or wear.
By taking good care of your sconces, you’ll ensure they continue to provide beautiful lighting for years to come.
Conclusion
Installing wall sconces might seem intimidating at first, but with the right tools, knowledge, and a little bit of patience, it’s a project that anyone can tackle. Not only will they add a touch of elegance and style to your home, but they’ll also provide functional lighting that enhances your living spaces. So, what are you waiting for? Grab your tools and get to it!
And hey, don’t forget to share your experience with us in the comments below. Whether you’ve got questions, tips, or just want to show off your new sconces, we’d love to hear from you. Happy DIY-ing!
Table of Contents
- Why Installing Wall Sconces is a Game-Changer
- Understanding the Types of Wall Sconces
- Gathering the Right Tools for the Job
- Ensuring Safety During Installation
- Step-by-Step Guide to Installing Wall Sconces
- Tips for Styling Your Wall Sconces
- Common Mistakes to Avoid
- Maintaining Your Wall Sconces