Ever wondered how professional tile installers always seem to get that perfectly straight layout? Well, it's no magic—it's the 3-4-5 rule for laying tile. This simple yet effective method is a game-changer for anyone looking to achieve a flawless tile installation. Whether you're a DIY enthusiast or a seasoned pro, this technique ensures your tiles are aligned like a pro every single time.
Now, let's be real here. Tiling can be a daunting task if you don’t have the right tools and techniques. But don’t sweat it! The 3-4-5 rule is like your trusty sidekick, helping you conquer even the trickiest corners of your home. It’s all about math, but don’t worry—it’s the kind of math you can actually use in real life.
So, why should you care about this rule? Because it saves you time, money, and frustration. Misaligned tiles not only look messy but can also lead to costly repairs down the line. With the 3-4-5 rule, you’ll nail that perfect layout every time, leaving you with a beautiful, professional-grade finish. Ready to level up your tiling skills? Let’s dive in!
Read also:Sean Mcvay Exwife The Untold Story Behind The Headlines
What Exactly is the 3-4-5 Rule for Laying Tile?
The 3-4-5 rule is a mathematical principle that’s been around for centuries, and it’s not just for tile laying—it’s used in construction, carpentry, and even astronomy (yeah, we went there). At its core, this rule helps you create perfect right angles, which is crucial when laying tiles. Without right angles, your tiles will start to shift, creating an uneven and unprofessional look.
Here’s how it works: Imagine a triangle where one side is 3 units long, the other is 4 units, and the hypotenuse (the longest side) is 5 units. If these measurements align perfectly, you’ve got yourself a perfect right angle. Simple, right? Now, let’s see how this applies to your tiling project.
Why You Should Use the 3-4-5 Rule for Your Tile Project
Listen up, folks. This rule isn’t just a fancy trick—it’s a lifesaver. When you’re laying tiles, even the slightest misalignment can throw off your entire project. The 3-4-5 rule ensures that every corner is square and every line is straight, giving you that professional finish you’ve always dreamed of.
Here are a few reasons why this rule is a must-have in your tiling toolkit:
- It eliminates guesswork and ensures precision.
- It saves you time by preventing costly mistakes.
- It’s easy to use, even for beginners.
- It works for any size or type of tile.
So, whether you’re tiling a small bathroom or a sprawling kitchen floor, the 3-4-5 rule has got your back.
Step-by-Step Guide to Using the 3-4-5 Rule
Alright, let’s get down to business. Here’s a step-by-step guide to using the 3-4-5 rule for laying tile:
Read also:Who Is Jon Cor Married To Discovering The Life And Love Of Jon Cor
Step 1: Measure and Mark Your Space
First things first, you need to measure your space. Use a tape measure to find the center of the area you’re tiling. This will be your starting point. Mark this spot with a piece of tape or a chalk line.
Step 2: Create Your Right Angle
Now, it’s time to apply the 3-4-5 rule. From your center point, measure 3 feet in one direction and mark it. Then, measure 4 feet in the perpendicular direction and mark it. Finally, measure the distance between these two points. It should be exactly 5 feet. If it’s not, adjust your marks until it is.
Step 3: Snap Your Chalk Line
Once you’ve got your perfect right angle, snap a chalk line along both directions. These lines will serve as your guide for laying the tiles.
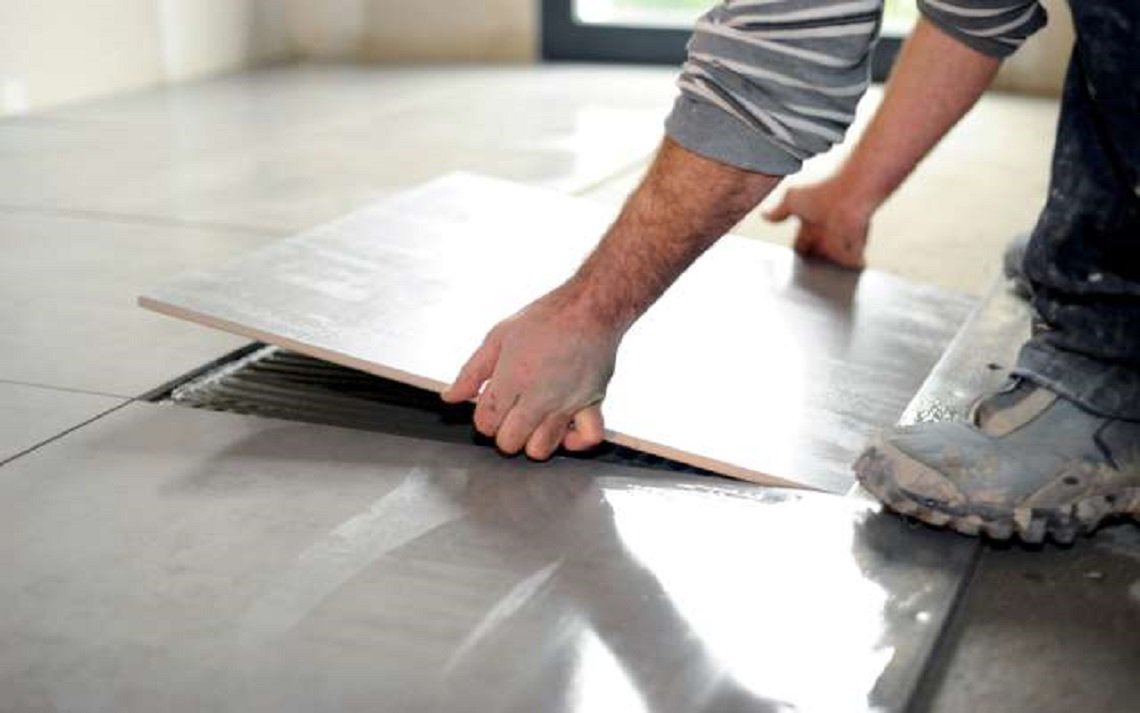
Step 4: Lay Your First Tile
Start by laying your first tile at the intersection of the two lines. Use spacers to ensure even gaps between the tiles. Work your way outwards, using the lines as a reference.
Step 5: Check and Adjust
As you lay each tile, double-check your alignment using the 3-4-5 rule. This will ensure that your layout stays true and square throughout the project.
Common Mistakes to Avoid
Even with the best tools and techniques, mistakes can happen. Here are a few common pitfalls to watch out for:
- Not measuring properly: Make sure your measurements are accurate before you start laying tiles.
- Ignoring the 3-4-5 rule: Skipping this step can lead to misaligned tiles and a messy finish.
- Not using spacers: Spacers ensure consistent gaps between tiles, giving you a uniform look.
- Rushing the process: Take your time and double-check your work as you go.
Remember, patience is key when it comes to tiling. Rushing the process can lead to costly mistakes that you’ll regret later.
Tips for a Professional Finish
Want to take your tiling game to the next level? Here are a few tips to help you achieve that professional finish:
- Use high-quality materials and tools.
- Plan your layout beforehand to avoid unnecessary cuts.
- Work in small sections to maintain control and precision.
- Let the adhesive set properly before grouting.
By following these tips, you’ll not only save time but also ensure a long-lasting and beautiful finish.
Tools You’ll Need for the Job
Before you start your tiling project, make sure you have all the necessary tools. Here’s a list to get you started:
- Tape measure
- Chalk line
- Tile spacers
- Tile cutter or wet saw
- Trowel
- Grout float
- Sponges
Having the right tools will make the job easier and more efficient. Trust us, you don’t want to be halfway through the project and realize you forgot something important.
Choosing the Right Tiles for Your Project
Not all tiles are created equal. When choosing tiles for your project, consider factors like size, material, and finish. Here are a few things to keep in mind:
- Size: Larger tiles can make a small space feel bigger, while smaller tiles are great for intricate designs.
- Material: Ceramic, porcelain, and natural stone are popular choices, each with its own pros and cons.
- Finish: Choose between glossy, matte, or textured finishes depending on your aesthetic preferences.
By selecting the right tiles, you’ll not only enhance the look of your space but also ensure durability and functionality.
Cost Considerations and Budgeting
Tiling can be a significant investment, so it’s important to budget accordingly. Here are a few cost considerations to keep in mind:
- Material costs: Prices vary depending on the type and quality of tiles.
- Tool costs: If you don’t already own the necessary tools, factor in the cost of purchasing or renting them.
- Labor costs: If you’re hiring a professional, be sure to include this in your budget.
By planning ahead and sticking to your budget, you can avoid unexpected expenses and complete your project on time.
Final Thoughts and Call to Action
There you have it, folks—the ultimate guide to using the 3-4-5 rule for laying tile. With this technique in your arsenal, you’ll be able to tackle any tiling project with confidence and precision. Remember, practice makes perfect, so don’t be afraid to try it out on a small project first.
Now, it’s your turn to take action. Whether you’re ready to start your next tiling project or just want to share your thoughts, we’d love to hear from you. Leave a comment below, share this article with your friends, or check out our other DIY guides for more inspiration. Happy tiling!
Table of Contents
- What Exactly is the 3-4-5 Rule for Laying Tile?
- Why You Should Use the 3-4-5 Rule for Your Tile Project
- Step-by-Step Guide to Using the 3-4-5 Rule
- Common Mistakes to Avoid
- Tips for a Professional Finish
- Tools You’ll Need for the Job
- Choosing the Right Tiles for Your Project
- Cost Considerations and Budgeting
- Final Thoughts and Call to Action